Well hello there! It turns out that my blog is still here and I can still post to it. Whether anyone is reading it is a whole different question.
That sure was a very fast 4 months!
It's been one hell of a ride over the summer down under. As I'm sure just about the whole world knows, we had a lot of bush fires ravaging the country, and they have been burning since well before I did my last post. In fact in November we drove up to Queensland and I remember that the Highway was closed the night before we drove up because of fires. It was just heartbreaking driving through the forests that were nothing but char. I'm so sad or all the animals.
The other thing we have been really struggling with is air quality. Since late November, my town of Canberra has routinely been listed in the top 5 worse cities for air quality in the world. We all bought P2 masks to try limit our exposure. So with the fires and smoke, we have also had massive heat waves, with day after day over 40C and of course the drought.
But if that wasn't enough we also had a massive super cell storm bust through Canberra in mid January. The storm couldn't have picked a more destructive path. It basically passed through three major town centers where there are thousands of cars parked in open car parks during they day. I've never seen a storm like it in Canberra. Even my mum who has lived here for more than 50 years has never seen a storm like it. The hail was larger the golf balls. Our 5 year old Mazda CX9 was written off, which meant we were forced back onto our motorbikes to commute to work. Usually that's not too bad, except when riding in the aforementioned 42 degree heat. We had insurance, which was paid out last week and we were quick in to buy a new car, knowing that there will be lots of people looking, we didn't want to wait to see prices rise. They have estimated about 30,000 cars damaged or written off.
Throw in Christmas, New Year, Miss 9's birthday, plus massive changes at work where the Prime Minister decided to merge a bunch of departments including the one I work for. This had a huge impact on my work life balance, with so much extra work to be done to set up websites, intranets, HR systems etc for a new merged department.
When I look back at the last four months, I certainly can see why I didn't do any blogging. However, there wasn't a single day that went past where my nails were naked. They didn't have nail art on them all the time, but were always painted and looking on point. As a result, I have so many mani photos that need editing and posting. Wanna see some Christmas designs anyone?
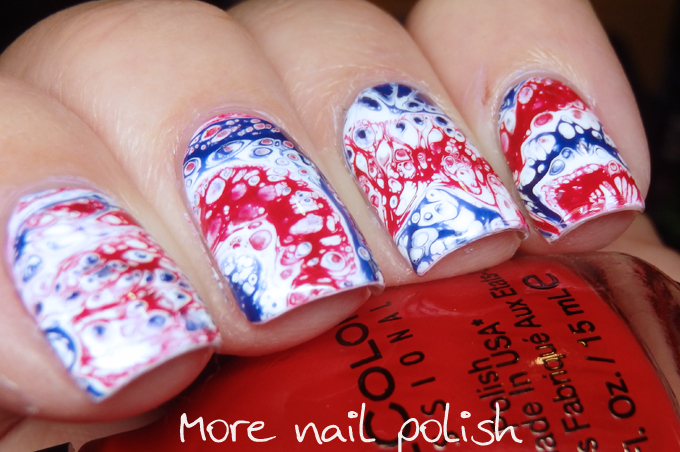
This weeks theme for the Digital Dozen was a fun one, being Cocktails. I did plan on drinking one of each mani that I created, but sadly that didn't eventuate. I've also discovered that cocktail inspired designs make excellent gradient nail art inspiration.
For my first look, I did was inspired by a Tequila sunrise. I even garnished my nails with a cherry and the orange slice, just like the inspiration picture. I should be back tomorrow night, as I have at least a couple of designs to share.